Between 1856 and 1863, Moravian Augustinian friar and scientist Gregor Mendel decided to “play in the garden with peas”. He looked at a set of basic, easily observable traits such as the shape and color of the pods, peas, and flowers, made some crosses, grew out and observed the results, and essentially founded the science of genetics.
In 2004, Patrina Nuske Small and I started discussing the principles of our Dwarf Tomato Breeding Project, essentially carrying out the kind of experiments that Mendel did. We’ve learned so much about traits in tomatoes, and in doing so (along with over 700 volunteers the world over), put more than 120 new dwarf growing, stable varieties into various seed catalogs (especially the Victory Seed Company catalog; I am indebted greatly to my friend, Mike Dunton, for taking our project under his wing).
The project continues, albeit on a smaller scale. It is an incredibly fun sandbox to play in (especially for nerdy/geeky gardeners that love mysteries, surprises, and data collection and analysis - hand raised here!). This year I decided to expand tomato crossing efforts into areas I’ve yet to explore - crossing indeterminate heirlooms, in addition to some indeterminate X Dwarf crosses.
This will be a multi-part blog. Part 1 - this part - will be more of an overview/introduction to what we’ve been doing in our project. It will cover the basics of making a tomato cross, using some pictures - for a few videos of how this works, you can check out my recent Instagram Live programs (just follow me on Instagram - @nctomatoman - and look at my library of IG TV videos, each about 45 minutes. The latest crossing demo is in the show from July 3).
Crossing tomato varieties is not difficult, but is aided with some basic tools, favorable weather (clear day of low humidity is ideal), an idea of what you want to investigate (see the following paragraph), and a steady hand. Persistence and patience helps as well. The equipment I use is: a vibrating device such as a Vegi Bee, or electric toothbrush, a collecting tool (I like to use the shiny black plastic spoon, as it makes it easy to see the pollen); a pair of tweezers, some 3-4 inch pieces of twisty ties, a pair of scissors, and a stool or chair to sit on.

tools of the trade
Any two tomatoes can be crossed, but I find that wide crosses (each parent being quite distinct from each other), use of a parent with an easily identifiable recessive trait (which makes it easier to see if the cross worked sooner), and an idea of an objective are all useful things to ponder. I will cover basic tomato genetics in part 2, but I will describe the value of using the recessive trait as a quick identifier in this part.
A tomato flower contains both male and female parts. For a good description with diagrams and pictures, see my friend KC Tomato’s web page on this topic. Starting from the outside, the slender green “petals” are the sepals. Next comes the yellow body, containing the anther cone and the yellow petals - the pollen is on the anthers, inside the cone - this is the “male” part of the flower. The anther cone surrounds the slender style (which is connected to what will become the tomato if the pollination is successful - the ovary, at the base of the flower). The very tip of the style is the pistil, which is the tube through which the pollen will move to result in pollination. The pistil, style and ovary are the “female” parts of the flower. Most often, flower pollination happens as the flower opens, when the anthers brush against the pistil. What we are trying to do is interrupt this process by removing the anther cone before the pollen flows to the pistil.
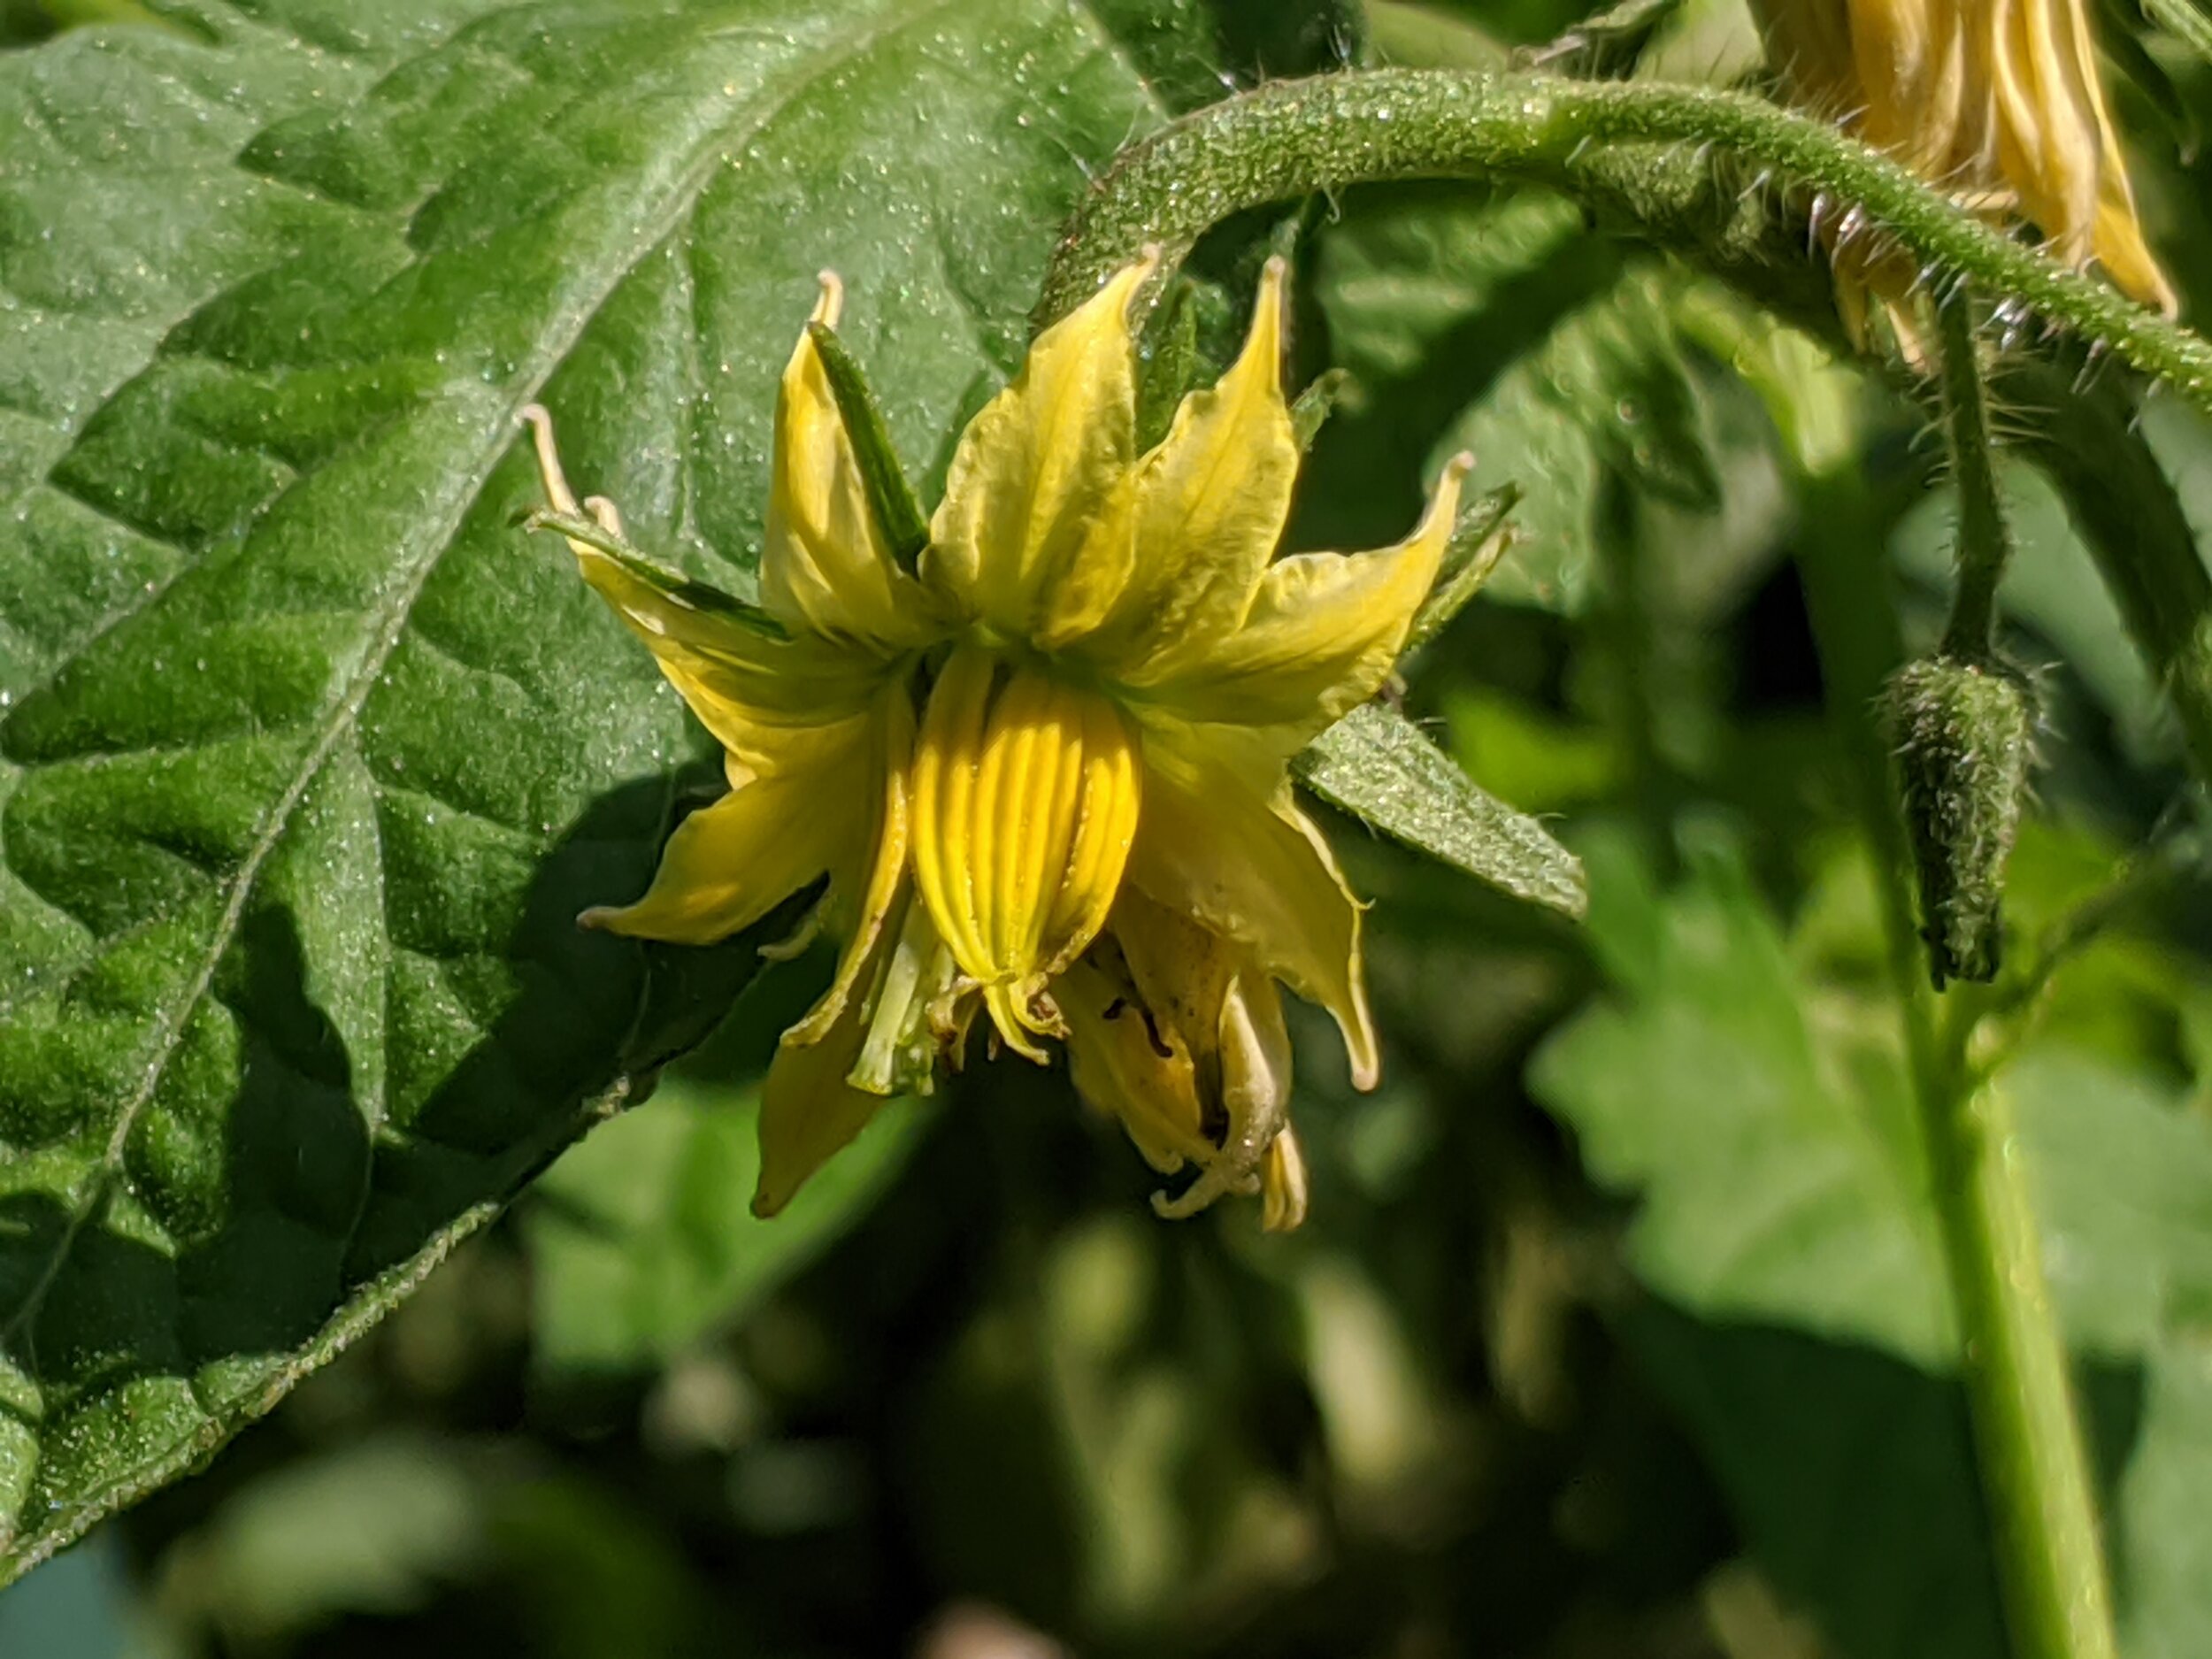
Open tomato flower
I like to use a variety with an easily observed recessive trait as the female - either a potato leaf indeterminate, or a tomato with a recessive growth habit, such as dwarf. I choose a flower that is just opening, and not quite a full, deep yellow yet. Using tweezers, I grab the base of the anther cone and gently tug it off of the flower - sometimes just a few anthers dislodge, sometimes the entire cone pops off. The key is to not damage the style, so contact between it and the tweezers should be avoided (hence the value of a steady hand).

flower with anther cone removed, ready for application of pollen
Once the style is exposed, all that should remain on the blossom are the sepals, the tiny ovary, and the style. I use a twistie tie and twist it around the base of the particular blossom cluster that holds the newly emasculated flower. I then use scissors to carefully trim the sepals so that the style is well exposed.
I then go hunting for open flowers on the male pollen donor. Positioning the spoon beneath an open flower, I hold the tip of the vibrating device against the flower stem, hoping to dislodge the fine, pale yellow pollen into the spoon. It does not take much pollen, and often one flower’s worth suffices.

pollen collected in the spoon by vibrating the open blossom
Pollen collected, I return to the emasculated flower and gently nudge the style (very tip of the pistil) into the collected pollen. Some should adhere, but if the flower is not quite ready, it is recommended to repeat this step daily for a few days, until the style dries up and falls off. If the flower stays put and the ovary begins to enlarge, you may have a successful cross; you’ve created a hybrid between the two varieties. Sometimes it just doesn’t work and the flower dries up and falls off. No worries; just use another flower and give it another try. In Raleigh, with frequent high humidity, my success rate was 20-30%. Here in much cooler, drier Hendersonville, I am approaching 90% on my successes.
In the next part I will describe how to choose parents and what to expect, as well as provide a list of my new hybrids - each of which could become significant projects - and what I think I may see when I grow them out.